Brands
📌 Overview
Brands let you build training once and deliver it under each of your brands. Give a division, franchise, or acquired company its own logo, banner, colors, and terminology, then assign the groups that should see it — learners get a branded experience without you duplicating a single course.
Step 1: Open Brands in Settings
Go to Settings → Brands. The Brands tab lists every brand in your organization with its group and learner counts and whether it's a draft or published.
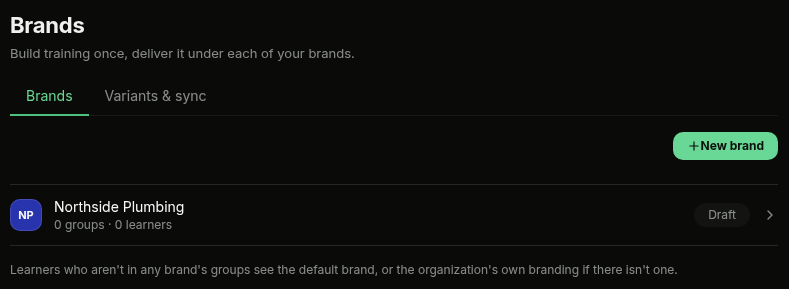
💡 Tip: Brands is available on plans that include it, with a limit on how many you can create. If you don't see it in Settings, contact your Quinn representative.
Step 2: Create a Brand
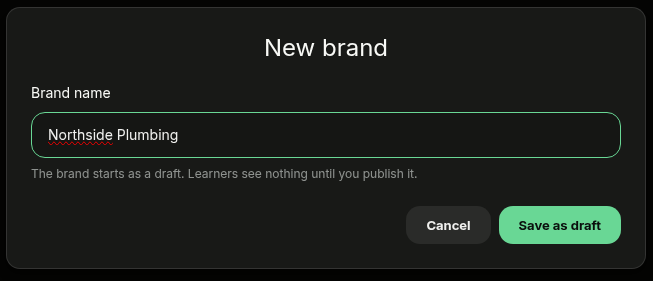
Click New brand, enter the Brand name, and click Save as draft. The brand starts as a draft, so learners see nothing until you publish it.
Step 3: Add Logo, Banner, and Color
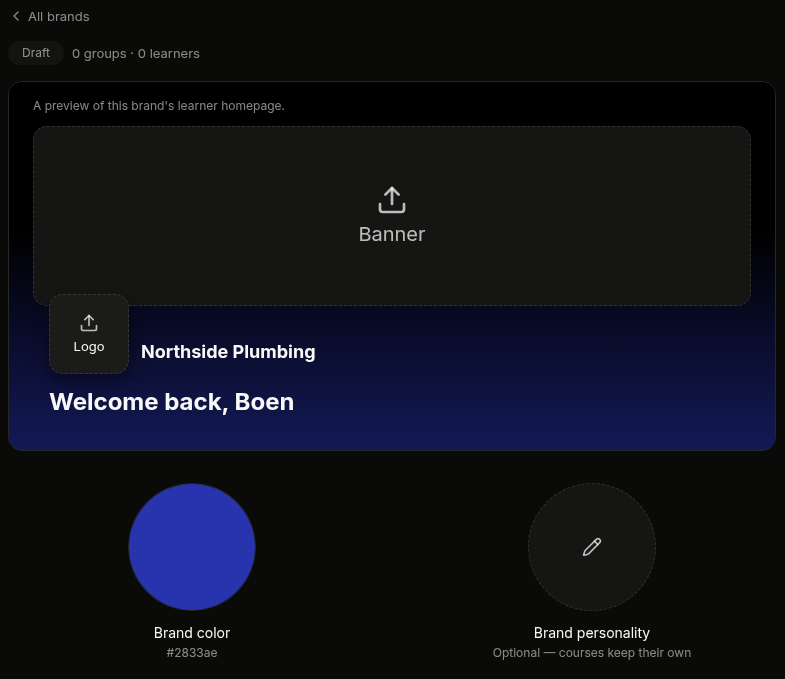
The brand editor opens with a live preview of the brand's learner homepage. Click Banner and Logo to upload images, then click the color circle to set the Brand color. Optionally set a Brand personality to shape the tone of branded course versions.
Step 4: Pick the Brand Color
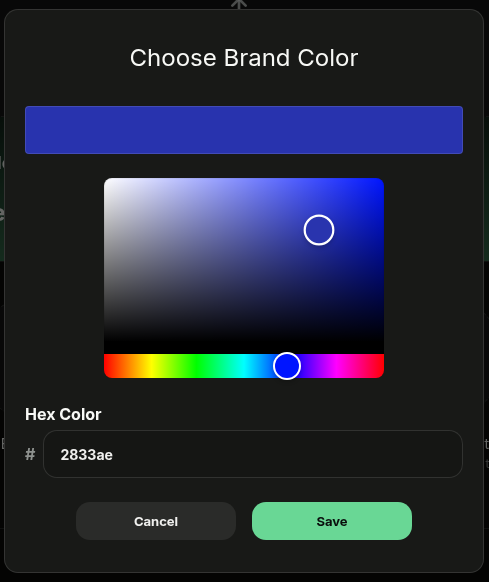
In Choose Brand Color, drag the picker or type a value into Hex Color, then click Save. The preview updates immediately so you can check the color against your logo.
Step 5: Choose the Audience
Under Audience, click Edit next to Who sees this brand? and select the groups that belong to this brand, then click Save. A group belongs to one brand at a time — groups already claimed by another brand aren't available here.
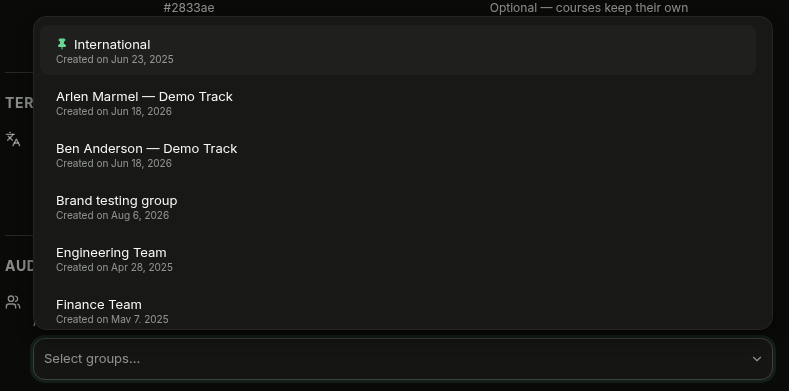
💡 Tip: Learners who aren't in any brand's groups see the default brand, or your organization's own branding if there isn't one.
Step 6: Review Terminology, Courses, and Publish
Terminology lets you swap words when a branded version of a course is generated, and Courses shows the courses this brand's groups are assigned. When everything looks right, click Publish — until then, learners keep the organization's branding.
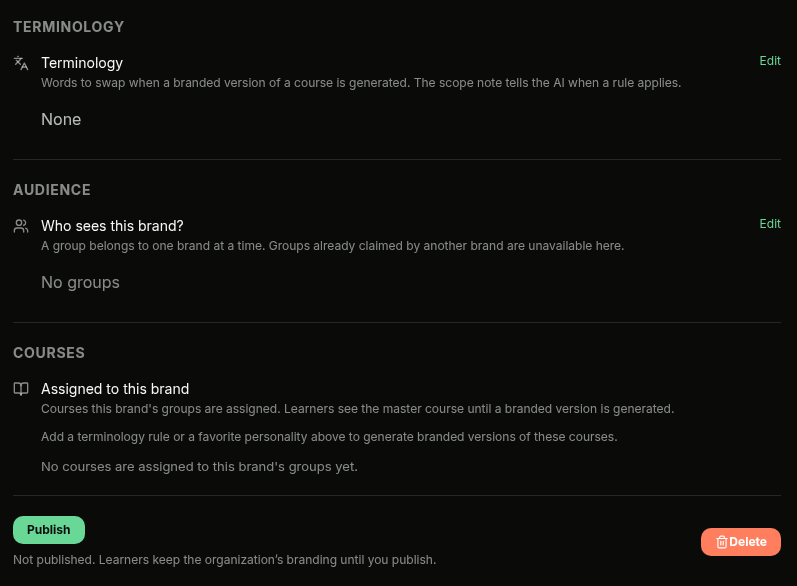
💡 Tip: The Variants & sync tab tracks when a source course changes after its branded versions were generated. Nothing regenerates on its own — sync when you're ready, and only what changed gets updated.