Send Communications
📌 Overview
Communications let you send messages directly to your learners through three channels: Email, SMS, and Banner. You can use one or all three at the same time to announce new training, share updates, or nudge learners — and optionally schedule your message for a future date. Banners appear as announcements at the top of the learner's dashboard so they see your message the next time they log in.
Step 1: Open the Communications Page
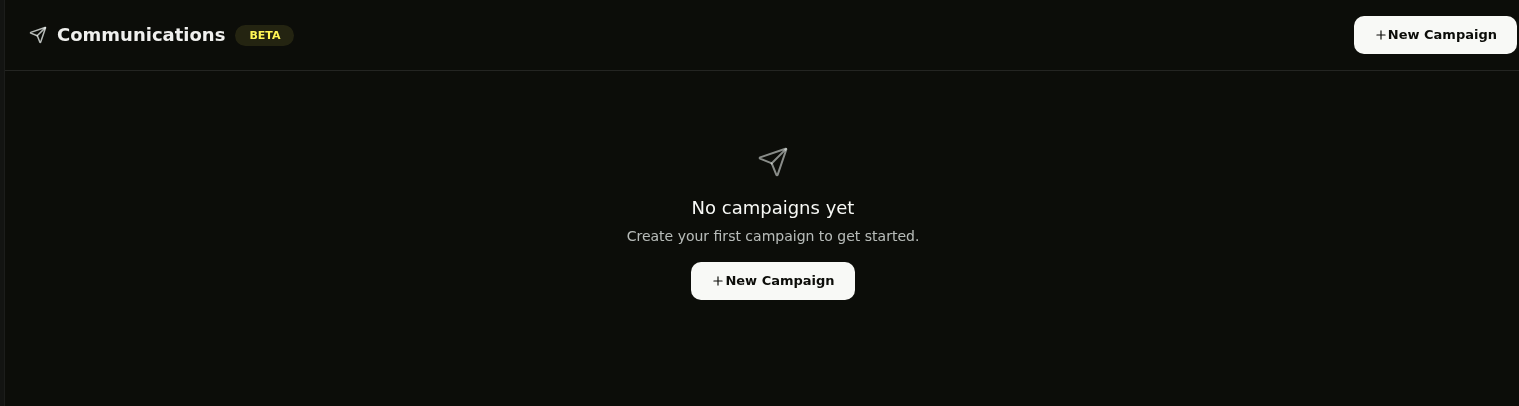
Navigate to Communications from the sidebar. You'll see a list of any existing campaigns or an empty state if this is your first one. Click + New Campaign to get started.
Step 2: Name Your Campaign
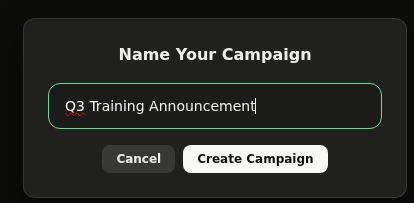
Enter a descriptive name for your campaign (e.g. "Q3 Training Announcement"). This name is for your reference only — learners won't see it. Click Create Campaign to continue.
Step 3: Choose Your Channels
At the top of the campaign editor, toggle on the channels you want to use. You have three options:
- Email — sends a branded email to each recipient's inbox
- SMS — sends a plain-text message to each recipient's phone
- Banner — displays an announcement at the top of the learner's Quinn dashboard
You can enable any combination of the three. When you toggle on Banner, additional fields appear for the Banner Headline and Banner Duration.

💡 Tip: SMS messages are automatically converted to plain text — any HTML formatting is stripped out.
Step 4: Compose Your Message
Fill in the Email Subject, Banner Headline (if Banner is enabled), and your Message Content. The message content is shared across all selected channels. Use the Insert buttons to personalize your message with merge fields like First Name, Last Name, or Email. The live preview on the right updates as you type.
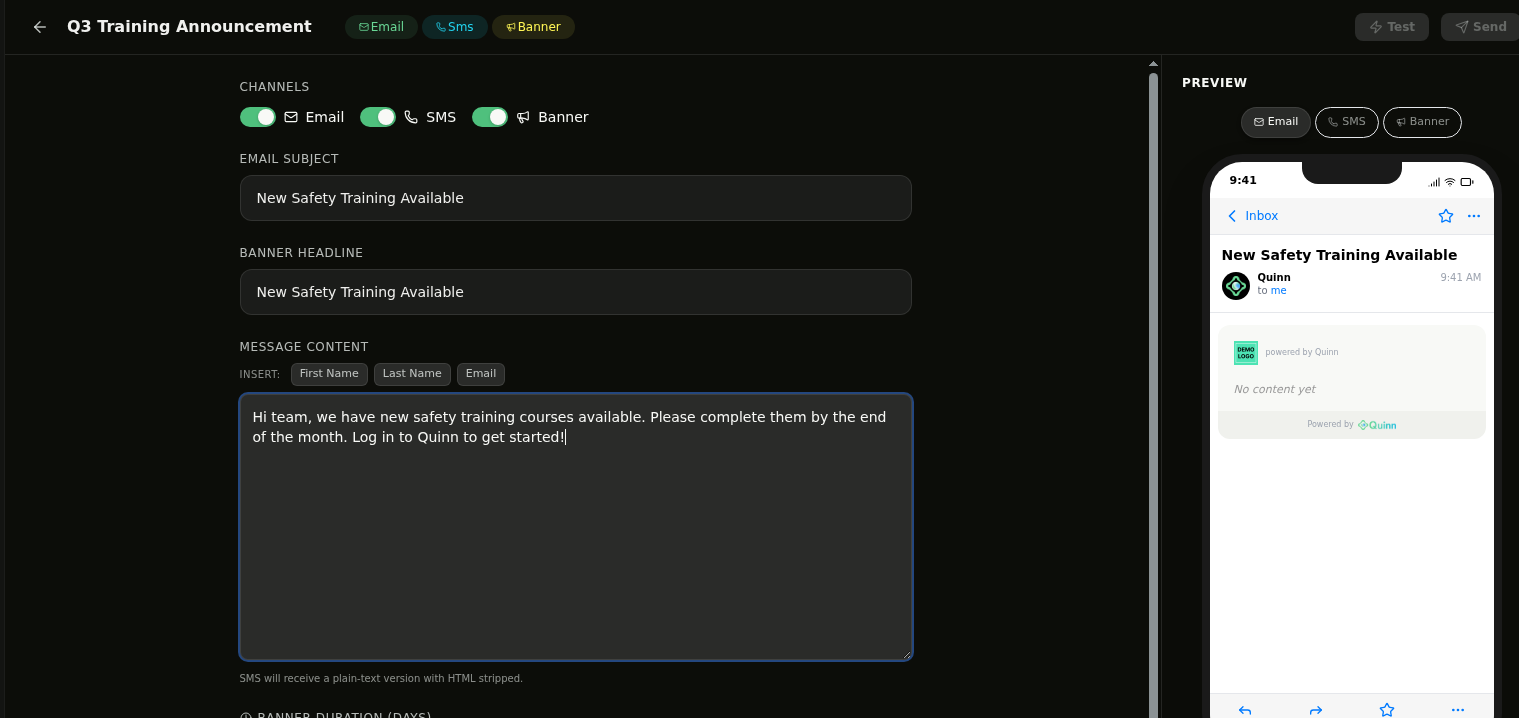
💡 Tip: The message content supports HTML for email and banner, but SMS will receive a plain-text version with HTML stripped.
Step 5: Review Your Previews
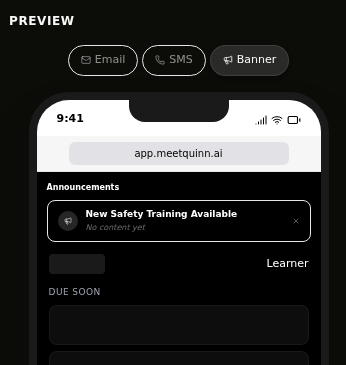
Use the Preview panel on the right to see how your message will look across each channel. Click the Email, SMS, and Banner tabs to switch between previews. The Banner preview shows how your announcement appears in the Announcements section at the top of the learner's dashboard — making it hard to miss when they log in. You can also set a Banner Duration in days, or leave it blank to display indefinitely.
Step 6: Schedule and Select Audience
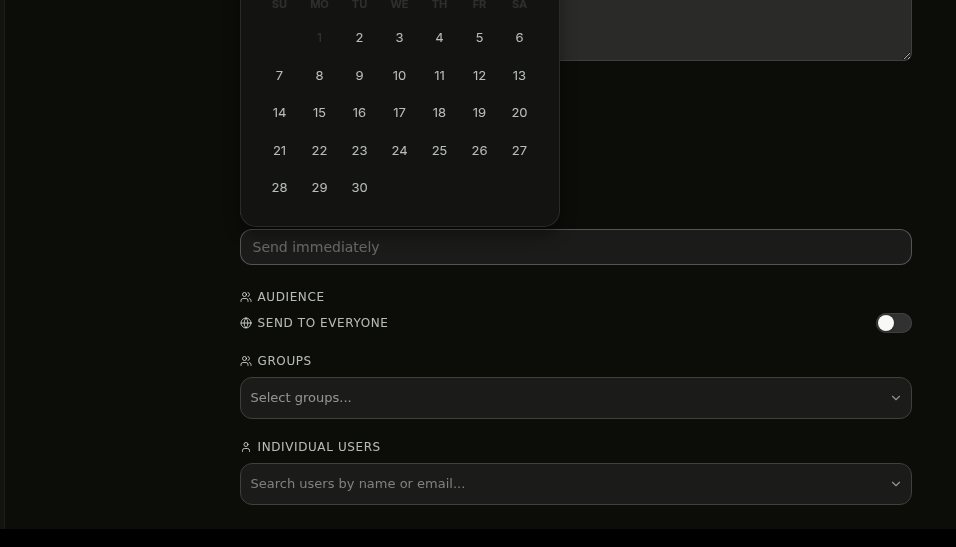
Under Schedule, click Send immediately to open a calendar picker where you can choose a future date and time. Leave it as Send immediately if you want the message to go out right away.
In the Audience section, choose who receives the communication:
- Toggle Send to Everyone to reach all learners
- Use Groups to target specific teams or departments
- Use Individual Users to search and select specific people
💡 Tip: You can combine groups and individual users in the same campaign to precisely control who receives your message.