Course QR Code
📌 Overview
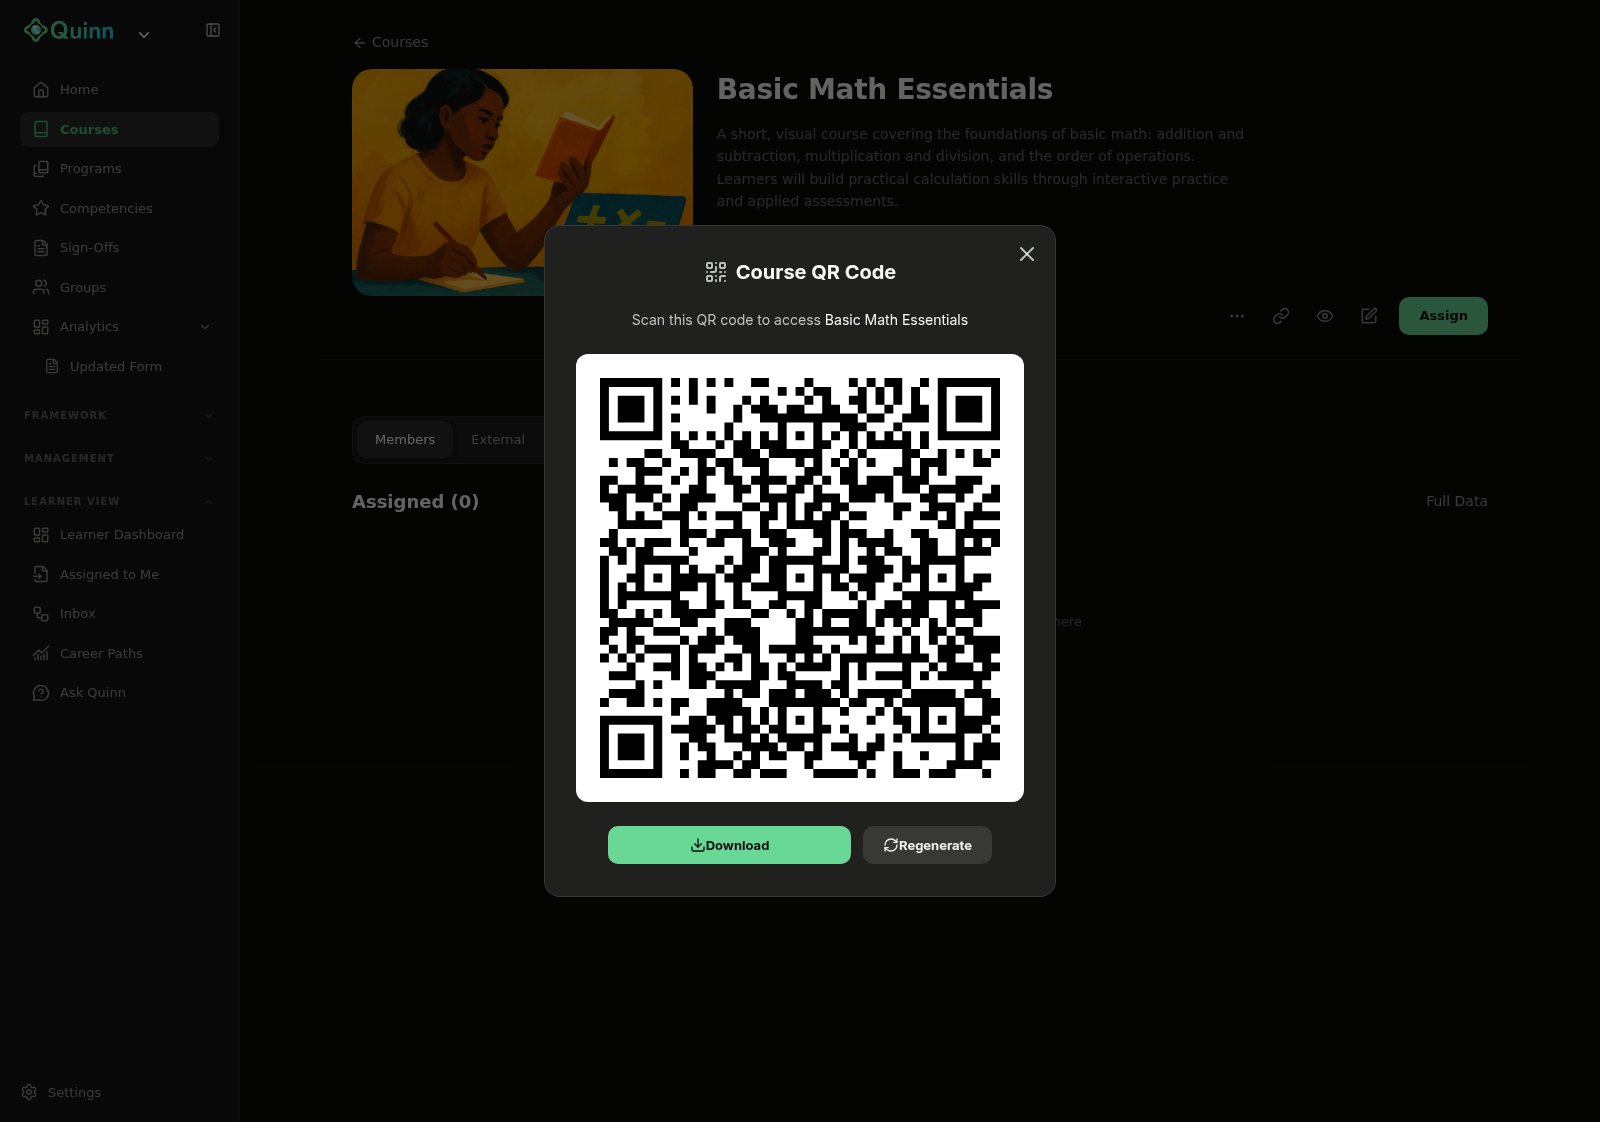
Generate a QR code for any course so learners can scan it and instantly start their training. This is perfect for posting on bulletin boards, break rooms, or job sites — anyone who scans the code will be taken directly to the course. You can download the QR code as a PNG image and regenerate it if needed.
✅ Step-by-Step Instructions
Step 1: Open the Course Detail Page
Navigate to Courses from the sidebar and select the course you want to create a QR code for.
Step 2: Open the QR Code Modal
On the course detail page, click the QR Code button in the action bar. A modal will open showing your course's unique QR code.
💡 Tip: You can also find the QR Code option in the ⋯ (more options) menu on the course card from the Courses list page.
Step 3: Download the QR Code
Click the Download PNG button below the QR code to save it as a high-resolution image file. The file will be named after your course for easy identification.
Step 4: Share the QR Code
Print the downloaded image or embed it in documents, posters, or emails. When someone scans it with their phone camera, they'll be taken directly to the course.
Regenerating a QR Code
If you need to invalidate the old QR code and create a new one (for example, if the link was shared unintentionally), click the Regenerate button.
⚠️ Warning: Regenerating creates a new QR code and permanently invalidates the previous one. Anyone who scans the old code will no longer be able to access the course through it. Only regenerate if you're sure the old code should stop working.
💡 Tips
QR codes link to a unique URL that directs scanners to the course. The link works for both existing members and new users.
The QR code image is high resolution (400×400 pixels) and suitable for printing.
Each course has its own unique QR code — you don't need to create one manually.
Consider placing QR codes near the physical work area where the training content is most relevant.