Course Status Labels
📌 Overview
Course status labels help your admin team show where each course is in its workflow. Add a colored status such as Ready to use or Under review, then filter the course library to find courses in that state.
Step 1: Find the Course
Open Courses from the admin navigation and find the course you want to label. Open its More options menu at the end of the row.

Step 2: Open Status Settings
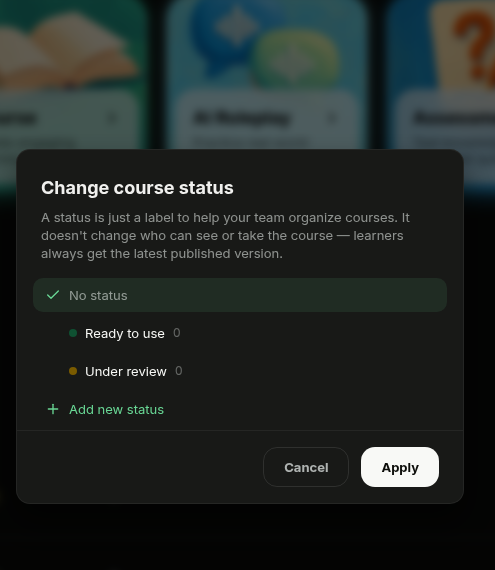
Select Change status to open the course's status options. The current selection is marked with a check.
Step 3: Choose a Status
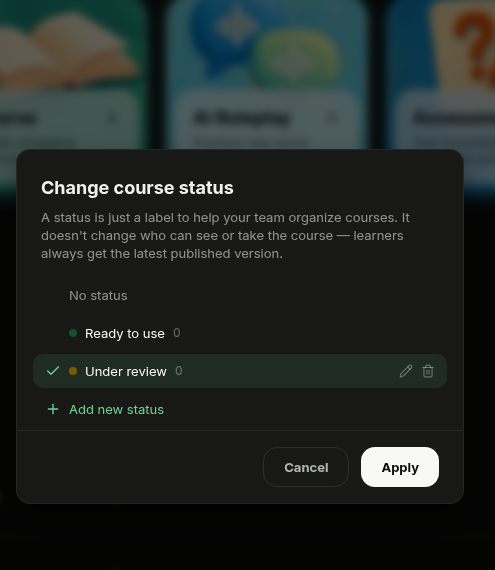
Select the status that matches the course's current stage, such as Under review, then click Apply.
Step 4: Add a Status
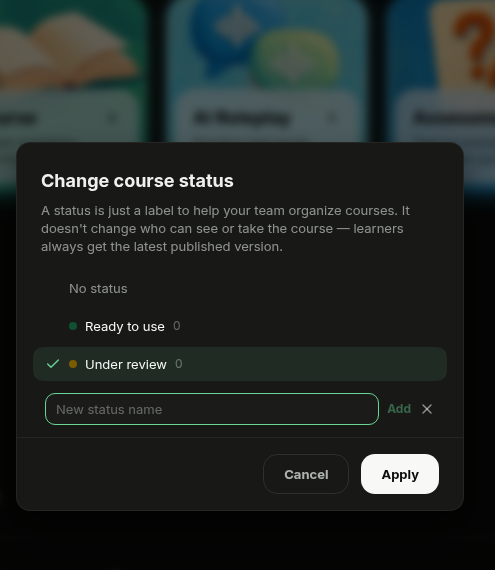
If you need another workflow stage, click Add new status, enter a status name, and click Add. Select the new status and click Apply to use it on the course.
💡 Tip: Statuses are shared across your organization, so use names your whole admin team will understand.
Step 5: Confirm the Label
The colored status pill appears beside the course name in the library. Other admins can now see the course's state without opening it.

Step 6: Filter by Status
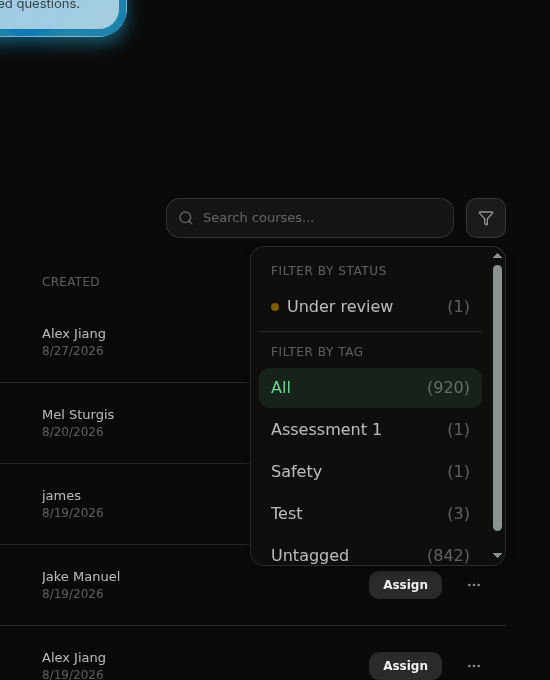
Click the filter button beside Search courses, then choose a label under Filter by status. You can combine it with a tag filter when you need a narrower view.
Step 7: Review Matching Courses
The library now shows only courses with the selected status. Click the active filter button again to change or clear the filter.