Media Library
📌 Overview
The Media Library is the central place to store and organize images, branded visuals, and any other media you use frequently in Quinn. Once your assets are uploaded, Quinn can automatically pull the most relevant visuals when building a course, so your training stays on-brand with less manual effort.
Upload and Manage Media
Go to your Media Library and upload your company assets — images, branded visuals, or any media you use frequently.
Organize your files into folders so they are easy to find.
When building a course, Quinn will prioritize using the most relevant media from your library first.
Request Media from Your Team
Occasionally you need a file, photo, or video from a colleague, and chasing them down is time-consuming. The Media Library's Request Media feature lets you ask teammates to upload assets directly into the right folder.
Step 1: Open the Request Media Modal
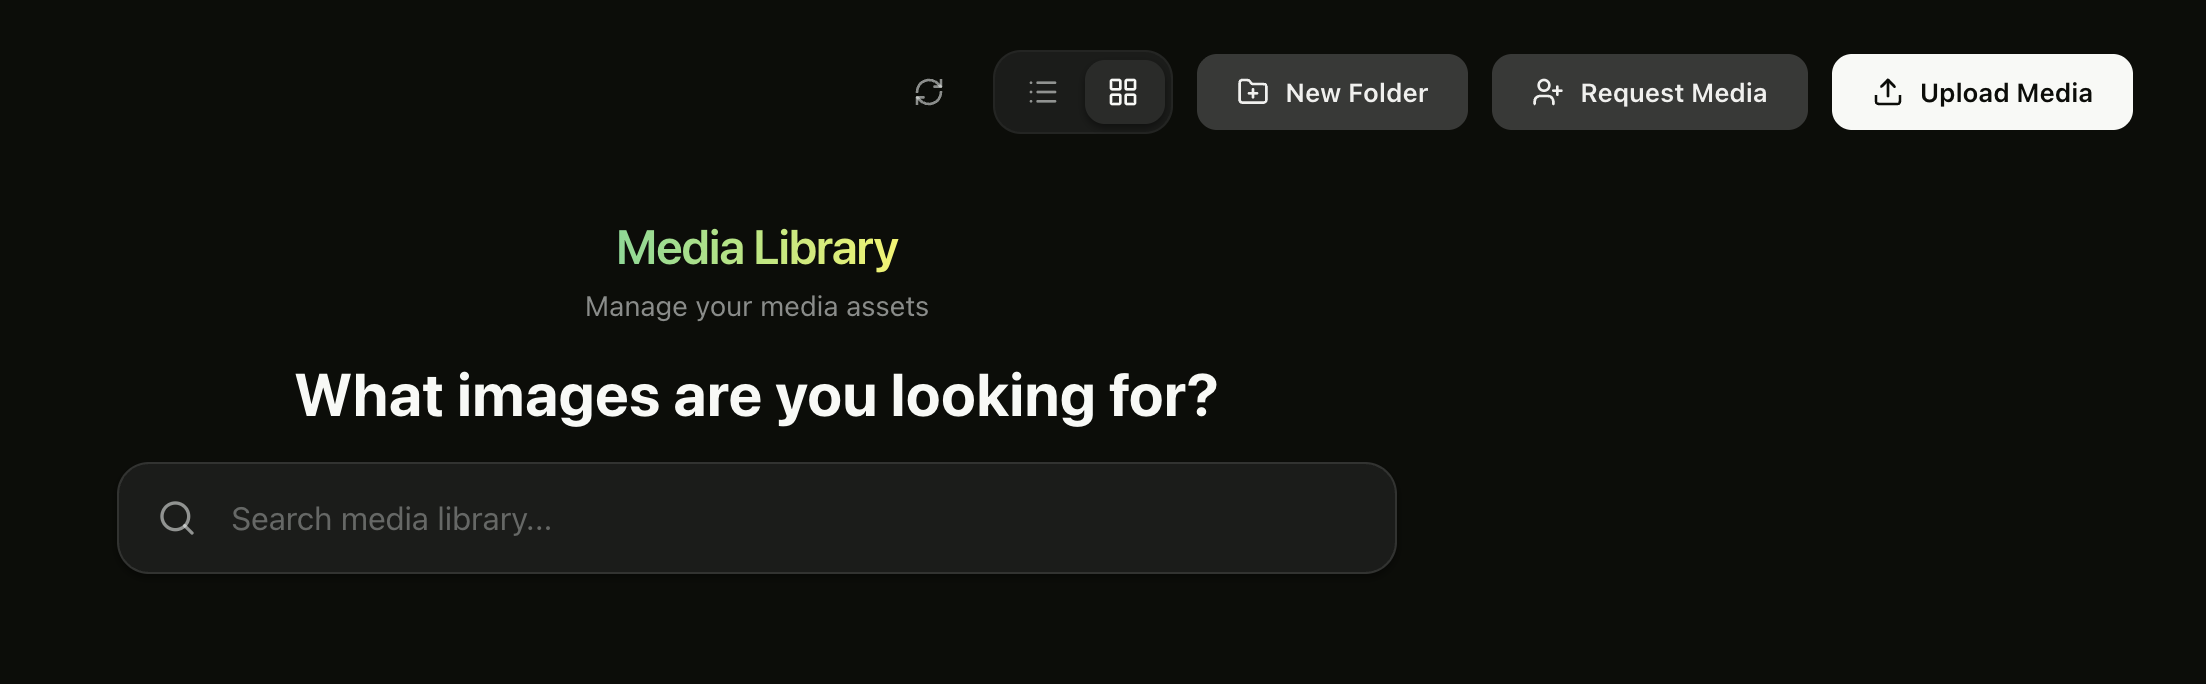
In the Media Library, click the Request Media button in the top-right toolbar.
Step 2: Start the Request
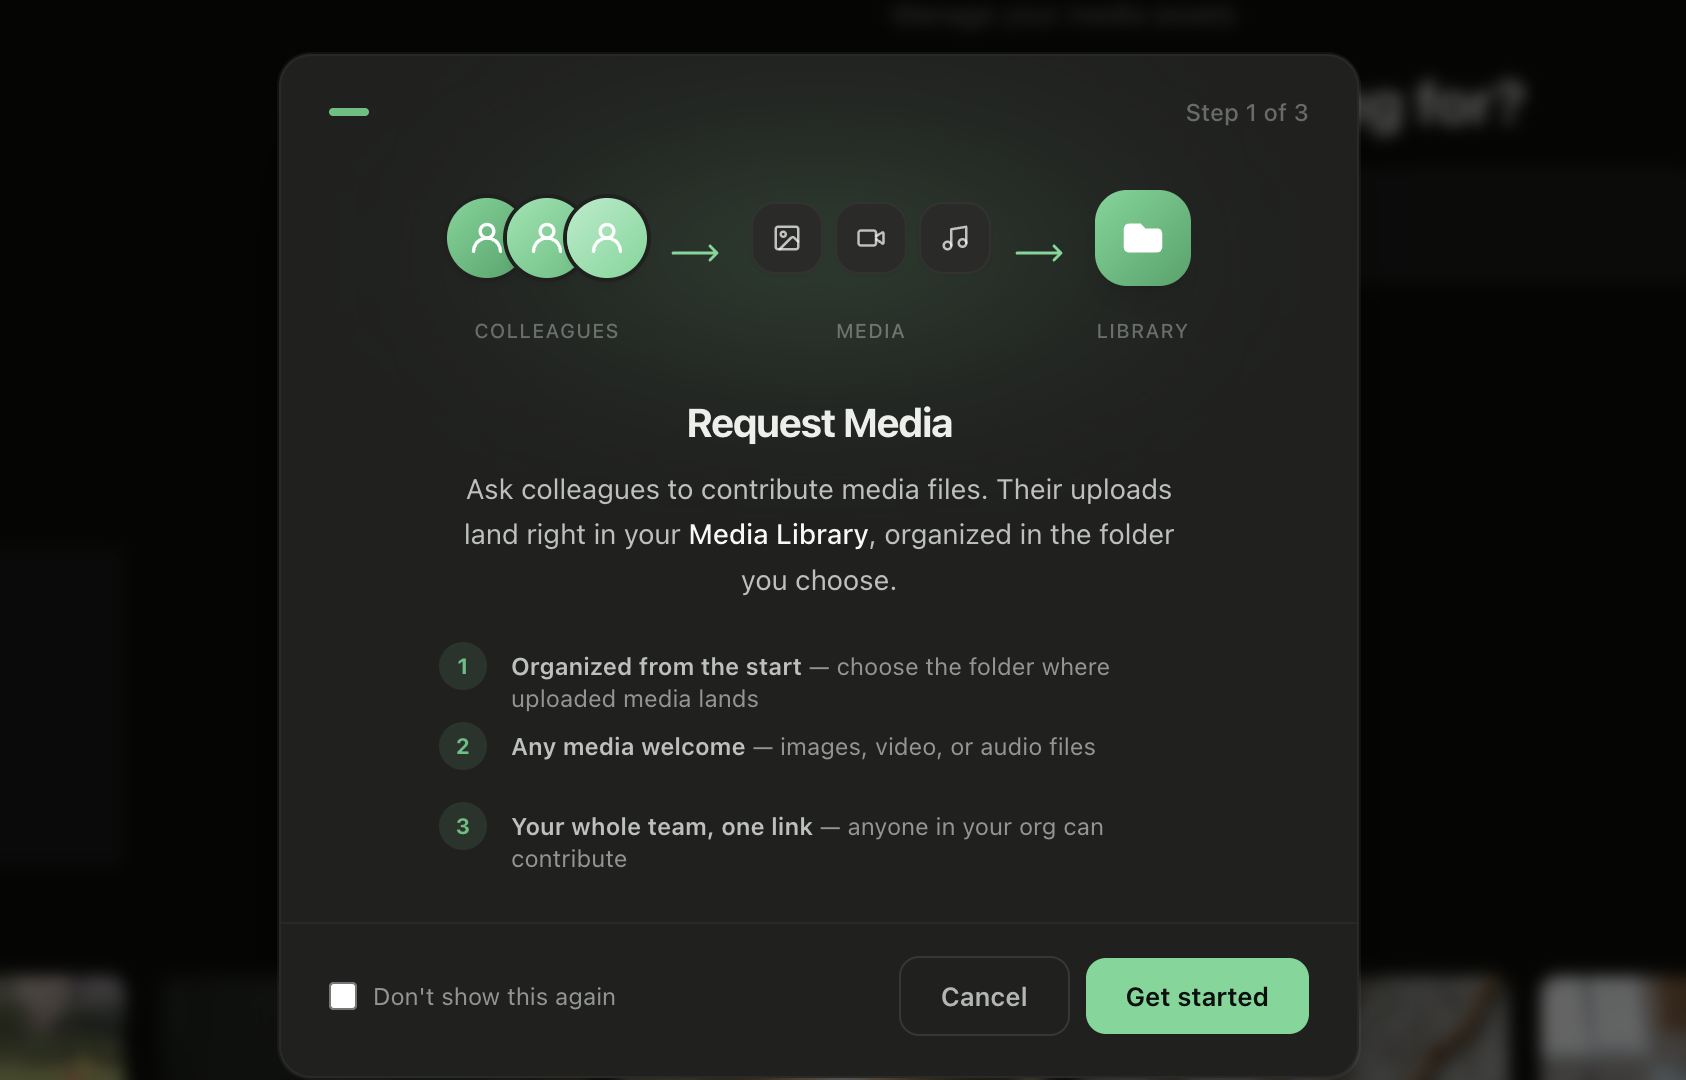
The wizard opens to Step 1 of 3. Click Get started to begin.
Step 3: Choose the Destination Folder
Select the folder where the requested files should be uploaded. Choose Media Library (root) or an existing folder, or choose Create new folder. Then click Continue.
💡 Tip: If you need a new folder, you can create it directly from the wizard.
Step 4: Add Recipients and Send
On the final step, the request is addressed to the recipients. You can add more recipients, copy the shareable link, or click Done to send the request.
💡 Tip: Copy the link to send it through your own email or Slack if you prefer.
💡 Tips
Upload your brand's image assets to the Media Library before building your first course — Quinn will use them automatically.
Keep your Media Library organized with folders so it is easier to find and reuse assets.
Request Media is great when you need a specific file but do not want to manage the back-and-forth yourself.