Author Your Curriculum and Share a Self-Enrolled Library
📌 Overview
Your Curriculum is the map of everything your organization teaches — tracks of related courses, grouped into sections. You can now build that map yourself: add tracks, add section headers, and drop in any course you own or any course from a training library. The same course can sit in more than one curriculum, so a shared onboarding course doesn't have to be duplicated.
Once the outline looks right, you can share the curriculum with learners as a self-enrolled library. Those learners get a Library in their account where they can browse your tracks and enroll themselves in whatever they want to learn — and you get reporting on what they picked.
Step 1: Open your curriculum
Go to Curriculum in the admin sidebar. The header shows how many tracks and courses it contains, and every track is laid out with its sections and courses underneath.
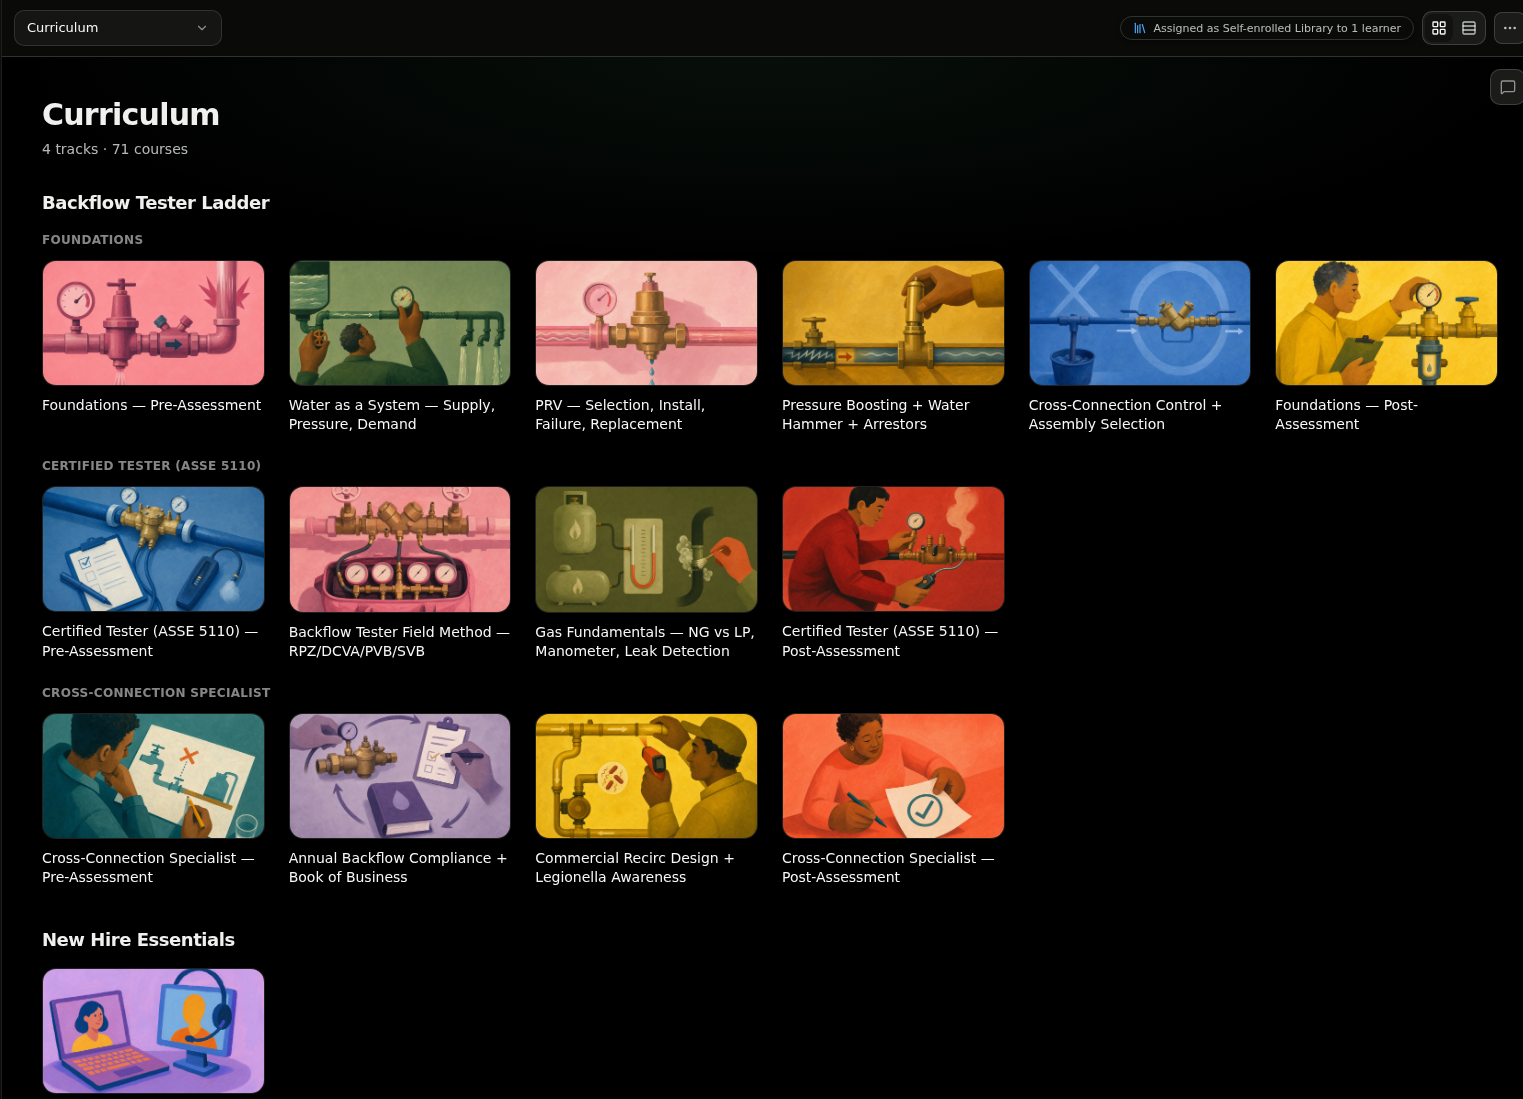
💡 Tip: Use the grid and list buttons in the top-right to switch between the card Grid view and a compact Column view.
Step 2: Start editing the outline
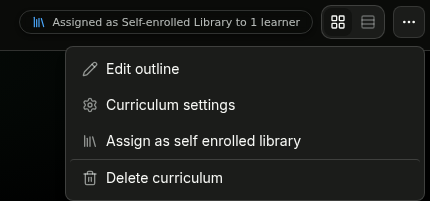
Open the … menu in the top-right and choose Edit outline.
Step 3: Add a track
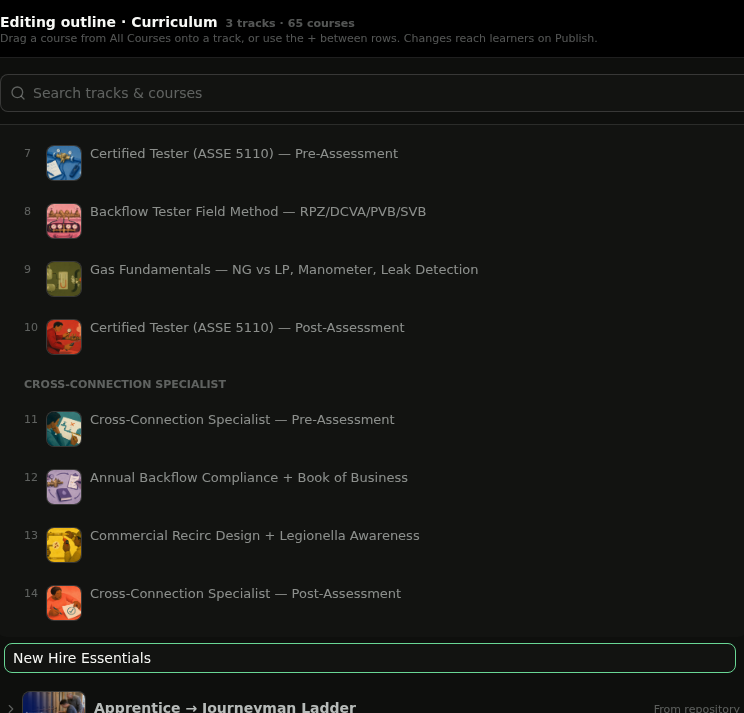
In the outline, hover the gap between any two rows and click the + that appears, then choose Add track. Type a Track name and press Enter.
Step 4: Add courses or section headers
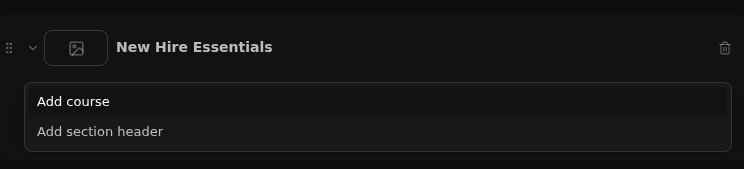
Inside a track, use the + to pick Add course or Add section header. Section headers are the small labels that split a long track into stages. If you'd rather work from your course list, you can also drag courses in from the All Courses panel on the right instead of using the menu.
Step 5: Pick a course or drag one in
You have two ways to fill a track. Either start typing in the course picker and select a course from the results, or drag a course straight from the All Courses panel on the right — search it in Search courses, grab it by the handle, and drop it where you want it in the outline.
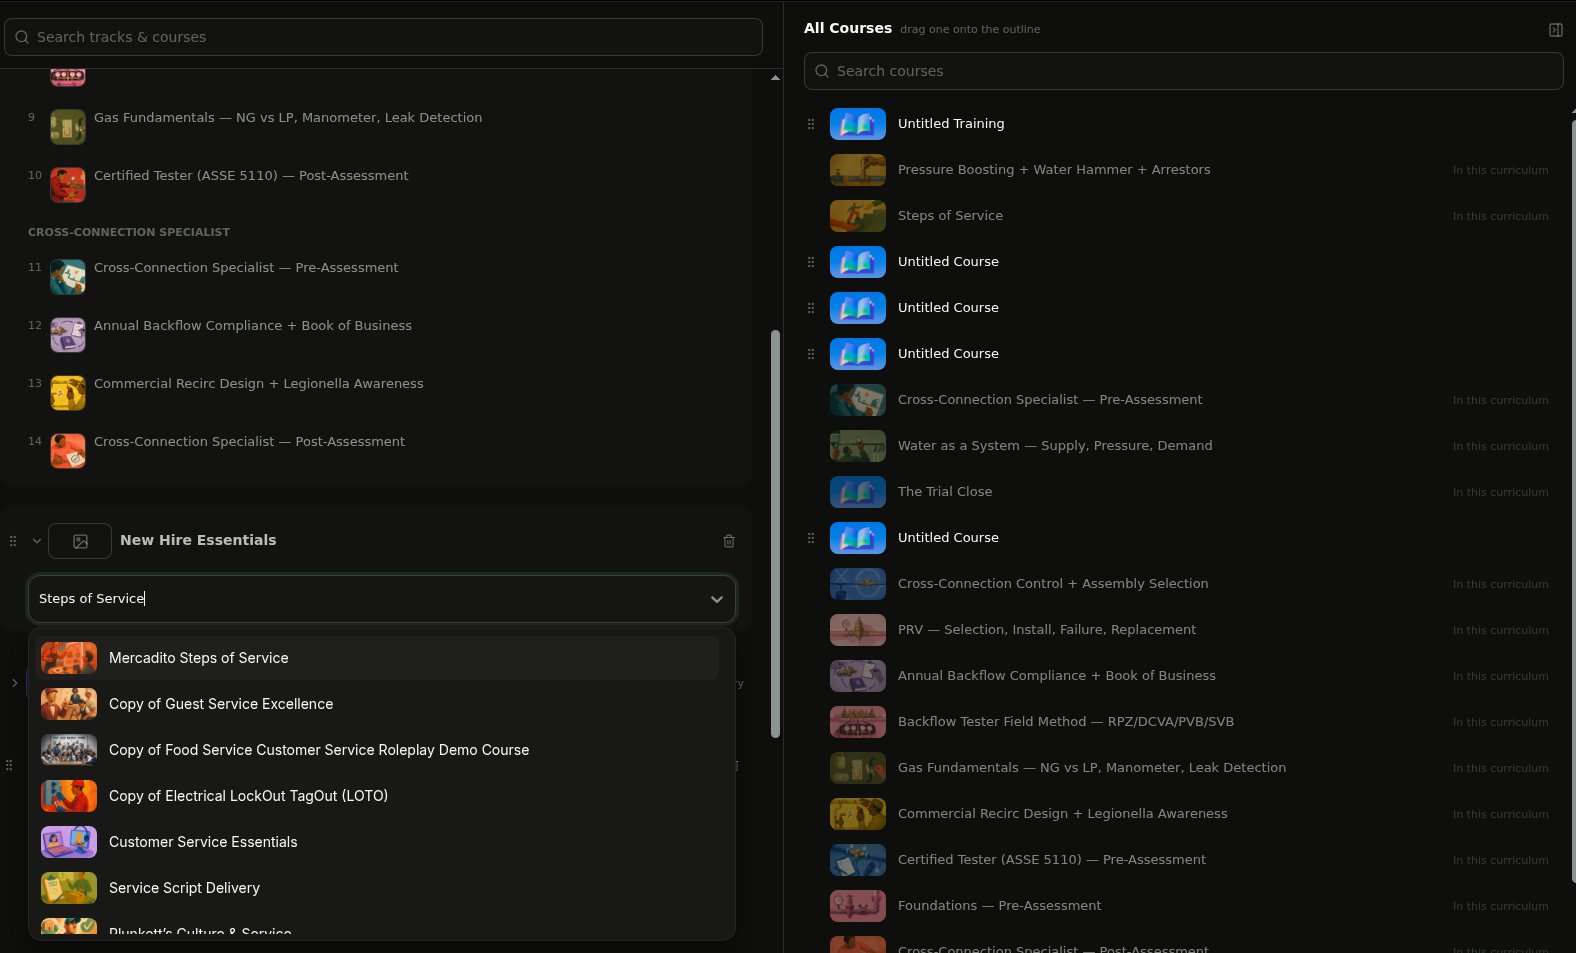
💡 Tip: Courses already in the outline are labelled In this curriculum in the All Courses panel — adding one somewhere else links the same course rather than copying it. Click Done in the top-right when you're finished.
Step 6: Share it as a self-enrolled library
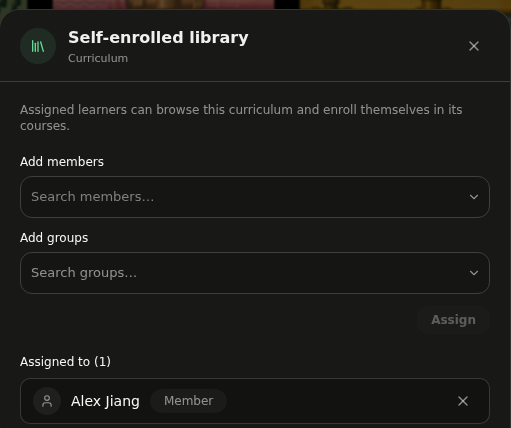
Back on the curriculum page, open the … menu and choose Assign as self enrolled library. Pick people under Add members or whole teams under Add groups, then click Assign. Everyone currently sharing the curriculum is listed under Assigned to.
Step 7: Learners browse the Library
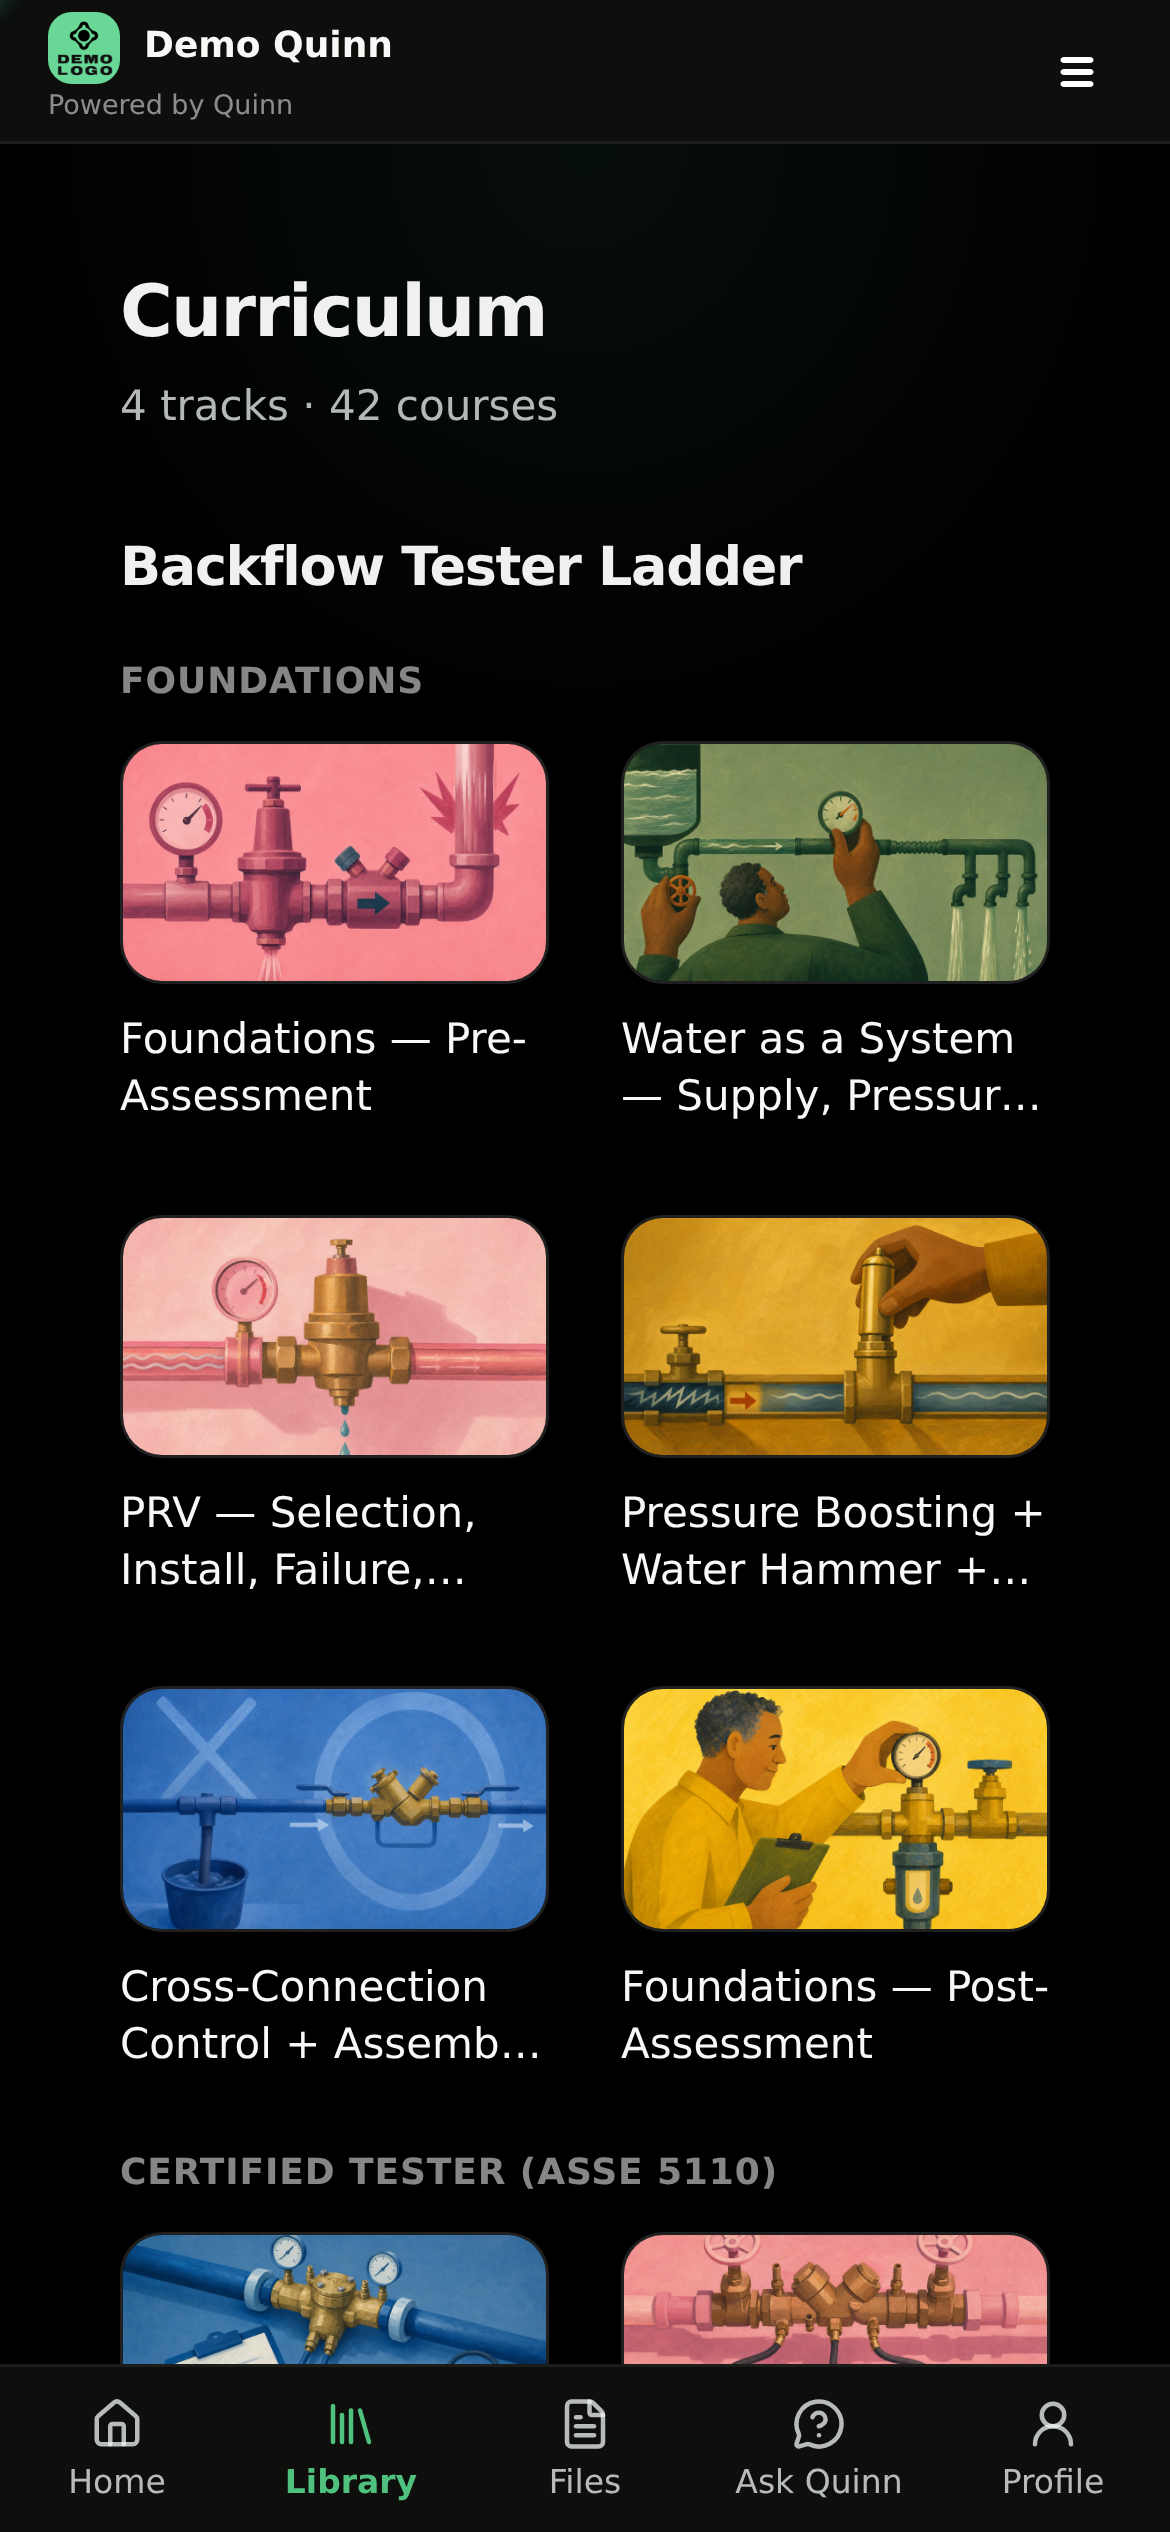
Assigned learners see a Library in their account — on the web and on their phone — with your tracks and sections exactly as you arranged them, plus a Search tracks & courses box for finding something specific. On mobile, Library sits in the bottom navigation next to Home, Files, Ask Quinn, and Profile.
Step 8: Learners enroll themselves
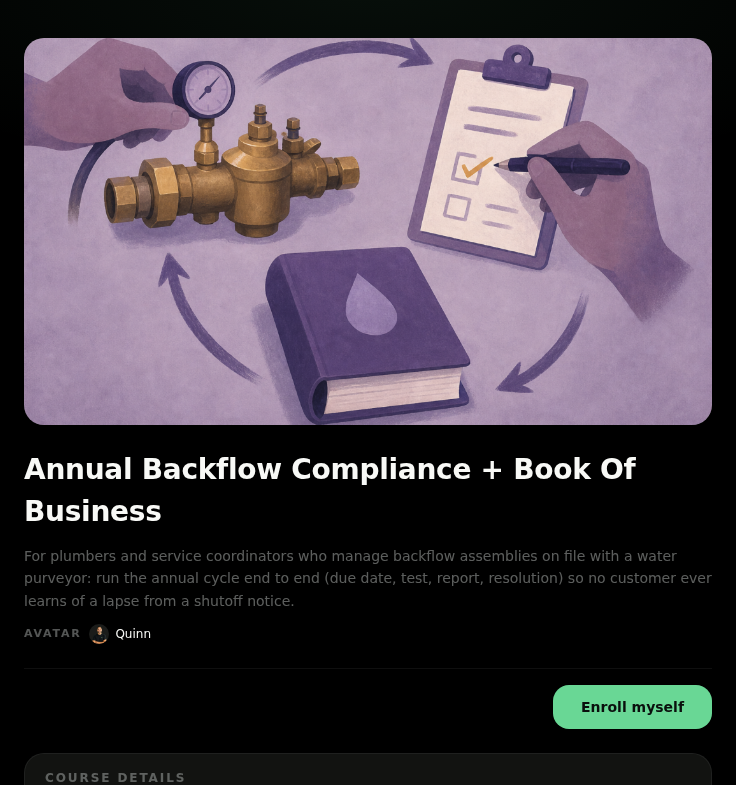
Opening a course shows its description and outline with an Enroll myself button. Courses already assigned to the learner say Already assigned to you instead.
Step 9: The course joins their learning
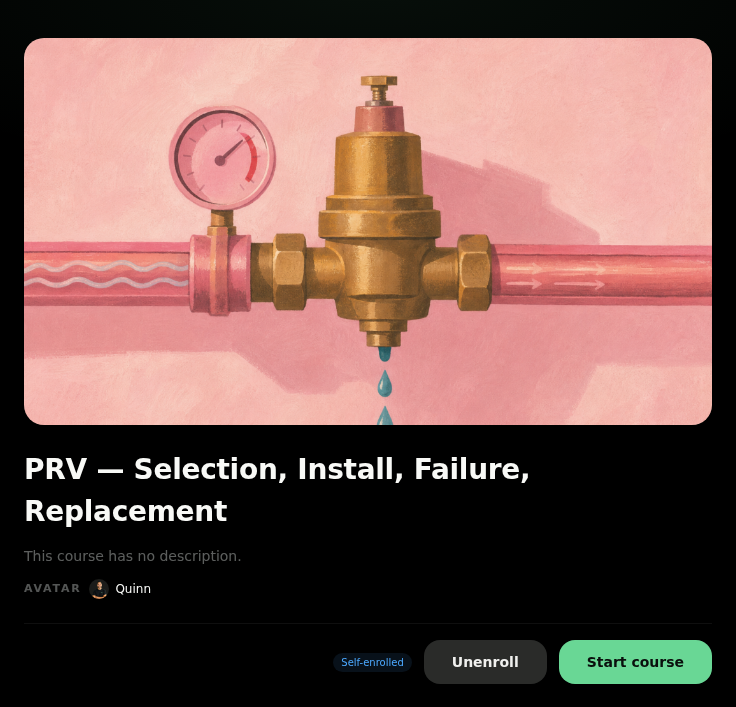
After enrolling, the course is marked Self-enrolled and the learner can Start course right away — or Unenroll if they change their mind.
Step 10: See what learners are picking
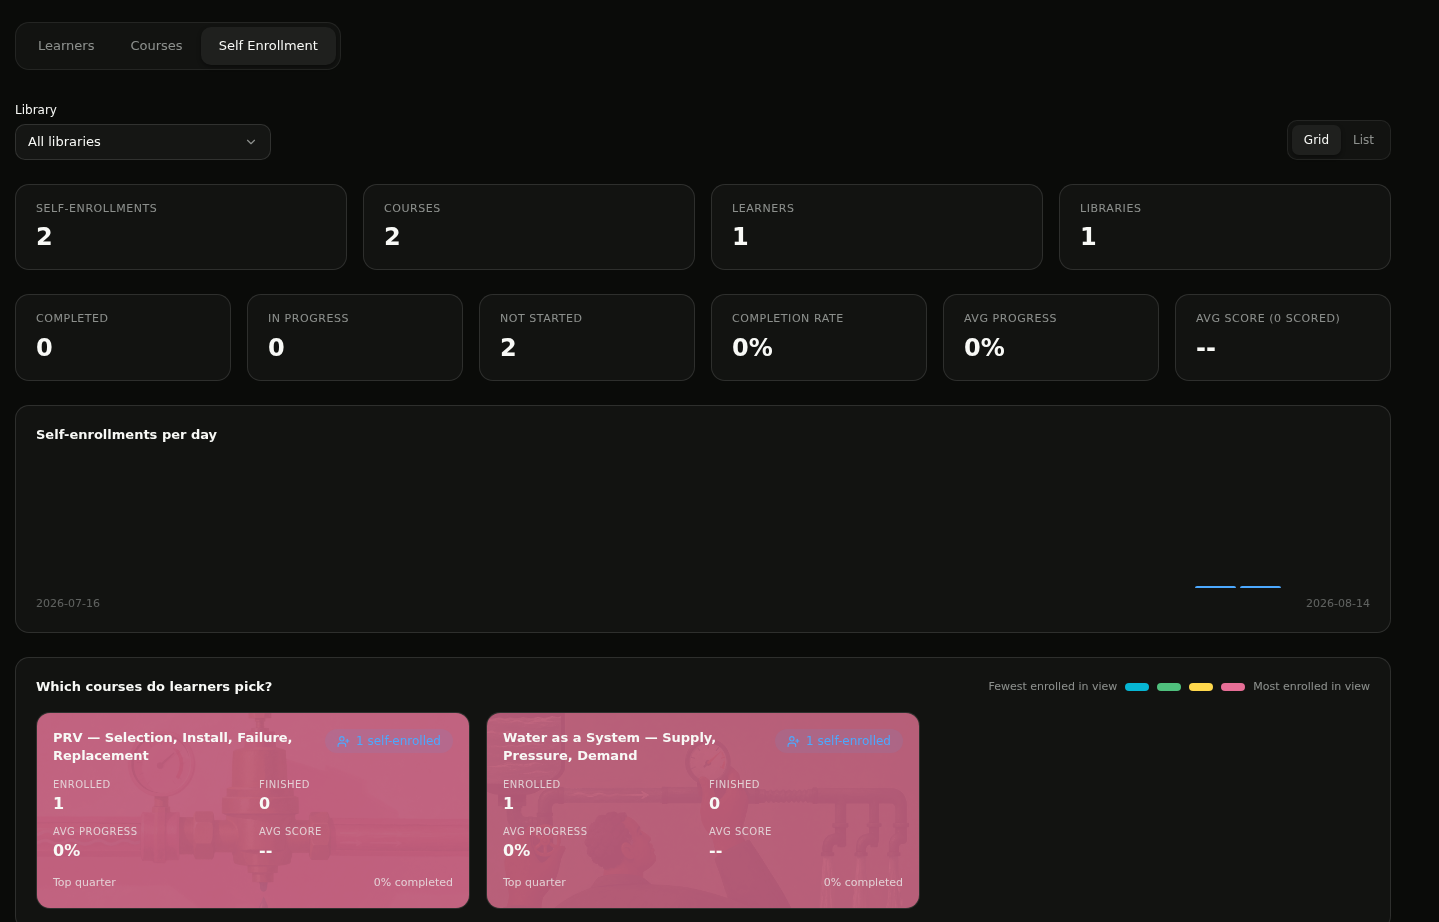
Open Analytics and select the Self Enrollment tab. Filter by Library, then read the totals for self-enrollments, learners, and completion, the Self-enrollments per day trend, and the Which courses do learners pick? grid — where colour shows the most-picked courses at a glance.
💡 Tips
- Sharing a curriculum as a library doesn't assign anything — learners choose what to start, so their required assignments stay untouched.
- A course can belong to several curriculums at once; edits to the course flow to every place it appears.
- If you don't see Curriculum or the Self Enrollment tab, they aren't turned on for your organization yet — reach out to your Quinn contact.
- Pair a library with programs when you want a required path plus optional extras, and check Analytics for the full picture of learner activity.